How to Build a Camera
Building your own camera is actually much easier than what you might think. It can be done by just about anyone with a few simple materials. However, before you build a camera, it's often helpful to have an idea of where cameras came from in the first place.
The Beginning
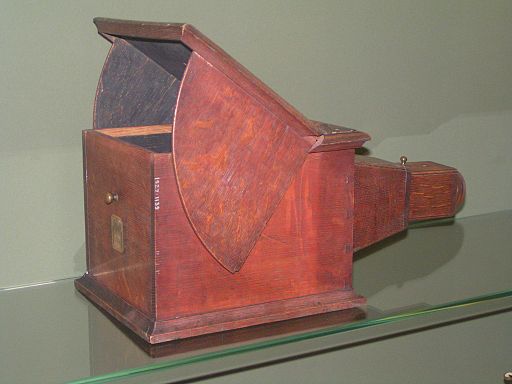
Cameras have greatly evolved over the years. The first device to be called a camera was the camera obscura and may have been used as early as around 400 BCE. These pinhole cameras used a tiny hole to allow light into a box. When the light shown on the inside of the box, the artist could quickly sketch over it. It wasn't a true camera as we think of it today, though.
The First True Camera
The first true photograph was taken in 1827 by Joseph NicephoreNiepce. He used a camera obscura to create what he called sun prints. The light shown on a piece of metal that was coated with bitumen. When an engraving was placed over this plate, the sunlight actually caused a reaction with the bitumen, creating a duplicate of the image. Several different versions of this method were used over the years. It was slowly refined until it lead to the roll of flexible film that many people are familiar with. This film still operates on the same basic idea as Niepce's sun print: light is reflected onto special film, causing a reaction with chemicals on the film in order to create an image of whatever the camera is pointed at. This negative could later be developed into a full image in a lab.
Digital Cameras
The biggest change in photography to occur in recent years actually happened in 1951. That's when the first digital camera was created. This camera let people capture images from a video tape recording and save them to a magnetic tape. The devices were widely used in television and film companies for years, and even NASA began using a form of this technology with satellites and space probes.
In 1972, Texas Instruments created a handheld camera that did not use film. This was the first digital camera as we think of them today. It wasn't available for sale, however. It wasn't until 1981 that a person could purchase a digital camera, although it was still technically a handheld video recorder, not a real digital camera.
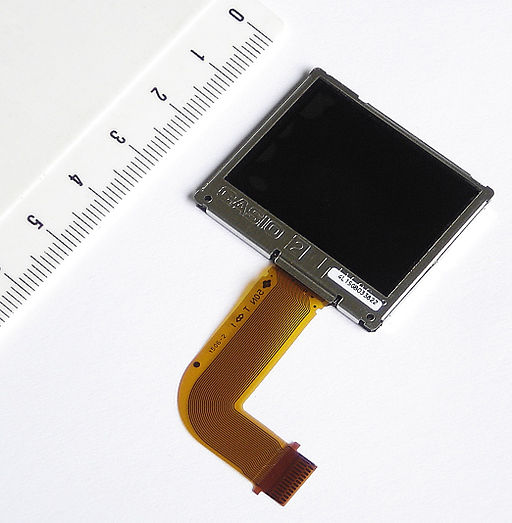
That honor goes to a Kodak and Nikon camera that was invented in 1986 and became available for sale in 1991. Since then, digital cameras have become smaller, lighter, and cheaper. Now amazing cameras are available on smartphones and tablets. These cameras have internal memories that can hold thousands of photos, and most can be expanded by adding memory cards.
Creating Your Own Camera
Building your own DSLR HD camera is probably not something you're going to be able to do unless you're an electrical engineer. These devices are very complex and require a number of specialized circuit boards and other materials. However, creating a simple homemade camera isn't that difficult. Pinhole cameras can be built with a few basic items. The only difficult part is developing the film, but even that isn't too hard.
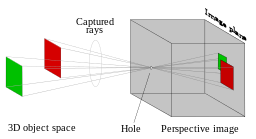
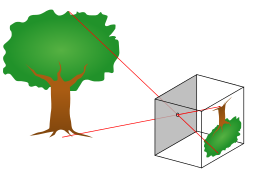
A pinhole camera is, basically, a box that captures light through a small hole. The light shines on a type of film or other reactive paper that's on the opposite side of the box. As long as no other light can enter the box, the light that shines in through the pinhole will create an image on the film.
The Science Behind it
The science here is simple. A narrow beam of light enters through the pinhole. The beams travel in straight lines, which means if there were exactly one source of light, it would only be able to hit the center of the paper in the camera. However, there are multiple beams of light that enter the pinhole, and while they're all traveling in straight lines, they're not all perfectly horizontal to the camera. What this means is that the beam of light that travels through the top of whatever is in front of the pinhole is traveling at an angle to your camera. It will then hit the bottom of the negative rather than the top. The same is true for light traveling upwards from the bottom of the scene in front of you. It will hit the top. The end result is that the negative in your homemade camera will actually have an upside down version of whatever it is you're taking a picture of.
Let's Make It!
Now that you have a basic idea of how this camera is going to work, let's create it. Here is a basic step-by-step tutorial on building your own pinhole camera.
First, gather your materials:
- A cylindrical container—an old coffee can or oatmeal container will work
- Some flat black paint (not glossy)
- Heavy duty aluminum foil
- A sewing needed (no. 10 or smaller)
- Black tape
- A piece of black paper that covers most of the canister bottom
- Photographic paper or film
- Scissors or a craft knife
- A paint brush
Step 1: Paint the removable lid of the canister completely black on both the inside and the outside.
Step 2: Use your scissors or craft knife to cut a matchbox-sized hold in the bottom of the canister. Do your best to center this hole.
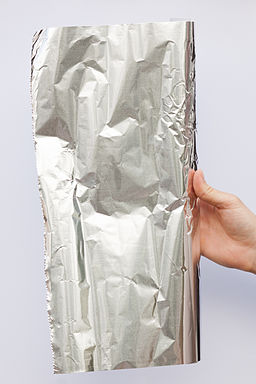
Step 3: Cut a piece of aluminum foil about two times the size of the hole you just made.
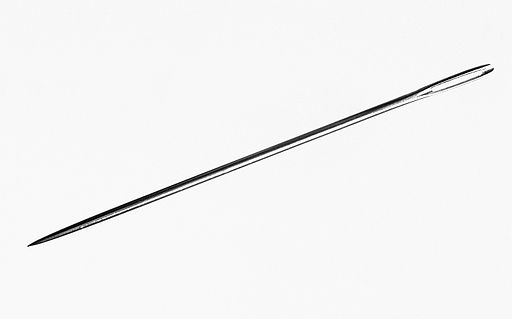
Step 4: Using the sewing needed, make a tiny hold in the middle of the sheet of foil. Do NOT push the needle all the way through—only go about halfway. Otherwise, your hole will be too large.
Step 5: Tape this piece of foil over the hold you made in the canister with the pinhole centered. The only light that should shine through is from the pinhole.
Step 6: To create the shutter, tape one side of your piece of black paper to the side of the canister so that it creates a flap that falls over the pinhole.
Step 7: Go to a room that is completely dark when you're ready to load your camera. If the room isn't dark, the film will be exposed and will be ruined. Step 8: Place your photographic paper or film on the inside of the canister.
 Now you can take a picture with your pinhole camera simply by pointing it at what you want to photograph and lifting the piece of black paper. It may take a little bit of work to figure out how long to expose the film, and you might create a few different pinhole cameras before you find one that really works for you.
 Once you've taken a picture, you'll have to develop it yourself—you can't simply take it to a store. You can find some information on how to develop pictures online, and many community colleges offer photography courses that include learning how to develop film.
Here are some other resources you may find useful:
- How to Use a Pinhole Camera – Instructions by Kodak
- Oatmeal Box Photos – Some pictures taken using an oatmeal box pinhole camera
- The American Museum of Photography – Features information on early cameras
- How does a Pinhole Camera Work – More details on how this type of camera works
- How Instant Film Works – A look at film and how it functions
- Wikipedia for Pinhole Camera – Basic information
- Instructible: Make a Camera – Another step by step for making a pinhole camera
- History of the Pinhole Camera – A look at this type of camera with illustrations
- The Bigshot Camera – For advanced users, you can make your own digital camera
- DIY Camera Kits – More DIY kits you can purchase and build
- Developing your Own Film – A guide to dark rooms
- Working with Black and White Film – A development tutorial
- The Online Darkroom – More film development tips
- The Photographic Process – The science behind developing pictures
- No Darkroom Required – How to develop and print photos without a darkroom
- History of the Camera –The camera from development to today
- A Camera Infographic – A chart of the history of the camera..
- The Camera Obscura – Its history and purpose.
- Cameras Throughout History – Another historical look at cameras.
